What to Know Before Painting Your Kitchen Cabinet
Painting kitchen cabinets is one of the more popular home upgrades — and one of the more misunderstood ones. On the surface, it looks straightforward. In practice, what to know before painting your kitchen cabinets goes well beyond picking a color.
The decisions made before a single coat of paint is applied determine whether the finish holds up for years or begins failing within months. Cabinet material, surface condition, product selection, and product quality all factor in. Each one compounds the next.
This blog covers the key considerations every homeowner should understand before committing to a cabinet painting project — so you know what to expect and what questions to ask.
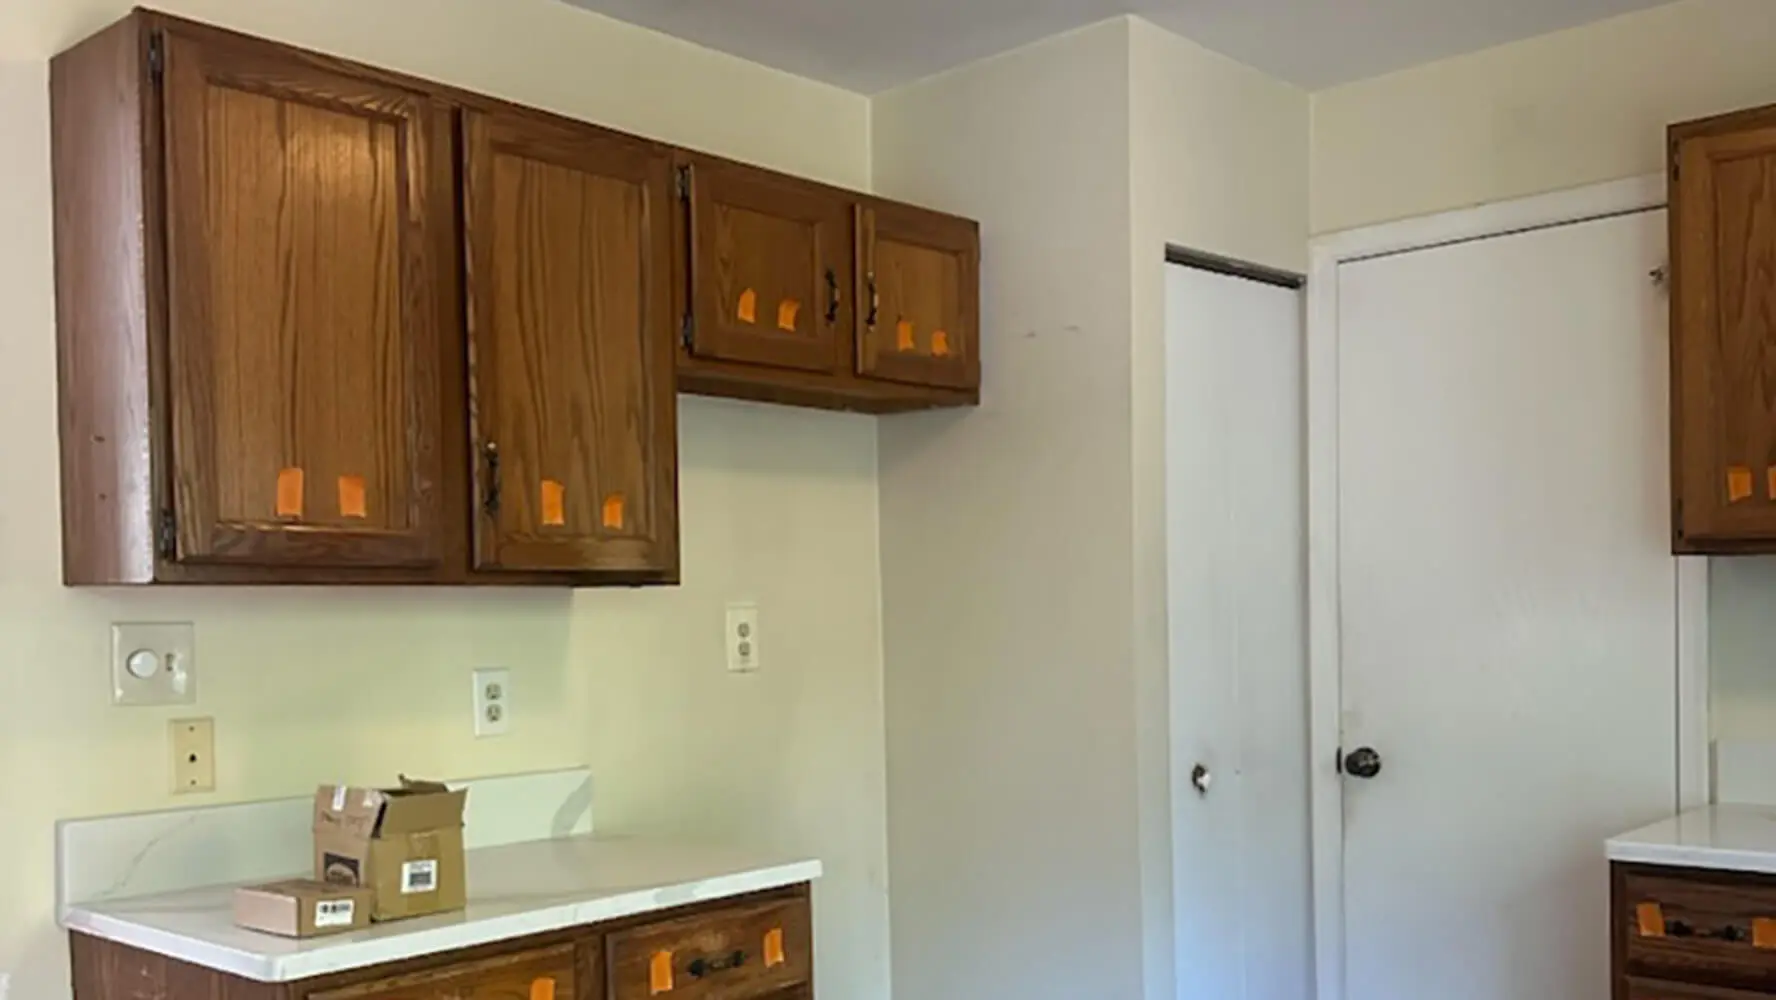
Not Every Cabinet Is a Good Candidate
Before any prep work begins, a professional assesses whether the cabinets are actually worth painting. Not every surface is a good fit, and moving forward without that evaluation is one of the most common ways a cabinet painting project goes sideways.
Cabinet material is the first thing a professional looks at. Solid wood and MDF take paint reliably and hold up well over time. Other materials may not bond properly regardless of how well the surface is prepared. The material alone can determine whether a paint job is a smart investment or a short-term fix.
Structural condition matters just as much. A professional looks for:
- Warping or instability in the cabinet frames or doors
- Water damage that has compromised the surface
- Deterioration that cannot be corrected through prep work
Paint will not hide those problems. It follows the surface underneath it, which means structural issues show through and continue to worsen.
The existing finish is the third factor. Heavily layered or problematic coatings affect whether the new finish will adhere properly. A professional evaluates the current surface condition and determines whether reliable adhesion is achievable before any work begins.
If the cabinets are not strong candidates, a professional will say so. That assessment is part of what separates a result that holds up from one that does not.
Cabinet Painting Preparation Determines How Long the Finish Lasts
If there is one part of a cabinet painting project that homeowners consistently underestimate, it is the prep work. The painting itself moves relatively quickly. Getting the surfaces ready is where most of the time and skill goes.
A professional begins by thoroughly cleaning and degreasing every surface. Kitchen cabinets accumulate grease, residue, and contaminants over time. Any of those left on the surface will interfere with adhesion no matter how good the products are.
From there, the prep process includes:
- Removing all doors and hardware before any painting begins
- Sanding surfaces to create the mechanical profile the primer needs to bond
- Filling gaps, dents, and surface imperfections before primer goes on
Working around hinges and handles is not a shortcut. It produces uneven coverage and accelerates wear at the contact points where cabinets take the most abuse.
The filling and sanding step is one that is easy to rush and costly when it is. Paint does not conceal surface imperfections. It makes them more visible. A professional addresses those issues before priming so the final finish is smooth and even.
Every step in the prep process exists for a reason. Skipping or shortcutting any of them compromises adhesion and reduces the lifespan of the finish, regardless of the quality of the products applied on top.
Paint and Primer Selection Are Not Interchangeable
The products a professional selects for a cabinet painting project are not interchangeable with standard interior paints and primers. Cabinets are a different surface with different demands, and the products have to match that.
Primer is where it starts. A professional selects a primer specifically formulated for cabinetry because it has to do two things: bond to the existing surface and create a stable base for the topcoat. A standard drywall primer is not built for that. Using the wrong primer is one of the most reliable ways to shorten the life of a cabinet paint job.
The same logic applies to the topcoat. Cabinet-specific paints are engineered for surfaces that take daily contact, moisture exposure, and repeated cleaning. Standard wall paint lacks the hardness and adhesion properties that kitchen cabinets require.
For the topcoat, professionals typically work with one of two formulas:
- Water-based alkyd — offers a harder cure and a smooth, factory-like finish; takes longer to dry between coats
- 100% acrylic — more flexible, faster drying, and easier to apply in variable conditions
Each has different open times, application requirements, and durability profiles. A professional selects based on the specific surface, the environment, and the result the homeowner is after.
Mismatched products are one of the most common reasons cabinet paint jobs fail ahead of schedule. The prep can be perfect and the technique can be sound, but the wrong paint and primer combination will undermine both.
Sheen Level Is a Design Choice, Not a Durability One
Once the right products are selected, the next decision is sheen level. For professional cabinet painting, sheen is a design choice. A professional helps the homeowner select a sheen based on the look they want.
Professional cabinet paints use a numeric sheen scale rather than the consumer labels most homeowners are familiar with. Here is what each level looks like:
- 10 sheen — a soft, low-luster finish; the most popular choice for kitchen cabinets
- 20 sheen — slightly more reflective, similar in appearance to a traditional eggshell
- 30 sheen — a step up in sheen, comparable to what most people recognize as satin
- 50 sheen — a noticeable sheen level, similar in appearance to semi-gloss
- 70 and 90 sheen — higher gloss finishes for homeowners who want a more reflective result
A 10 sheen is the most popular choice — a soft matte finish that holds up just as well as any higher sheen because durability is built into the paint itself, not the finish level. Higher sheens tend to make surface imperfections more visible, which is worth factoring into the decision.
A professional helps the homeowner work through the options and land on a sheen that fits the result they are after.
Cabinet Paint Durability Comes Down to Product Quality
Cabinet paint durability is not determined by sheen level. It is determined by the quality of the paint. That distinction matters, and it is one of the clearest differences between a professional cabinet painting project and a DIY one.
Professional cabinet painters work with pour paints — professional-grade products that are significantly better than what is available off the shelf at a home improvement store. These are not consumer products. They are engineered for the demands of professional application in ways that retail paints are not built to meet.
The washability, moisture resistance, and sheen-based durability claims that come up in consumer paint marketing apply to a DIY context — where a homeowner is selecting from retail options and sheen level is one of the few variables they can control. In a professional context, those variables are handled at the product level. A 10 sheen professional paint holds up just as well as a 50 sheen professional paint because durability is in the formulation, not the finish.
What this means for the homeowner is straightforward. When a professional selects and applies the right products correctly, the finish is built to last regardless of which sheen level was chosen.
Painted Cabinets Require Ongoing Maintenance
A professionally painted cabinet finish is durable, but it is not indestructible. Homeowners who understand what the finish requires will get significantly more life out of it than those who treat it like a set-and-forget upgrade.
Cleaning is the most routine part of maintenance and the easiest place to cause gradual damage. Painted cabinets should be cleaned with mild, non-abrasive products. Harsh chemicals and abrasive scrubbers break down the finish over time, even on a job that was executed well. A soft cloth and a gentle cleaner are all that is needed for regular upkeep.
Knowing where to look for early signs of wear helps homeowners stay ahead of problems. The areas that take the most contact deteriorate first:
- Door edges and corners where surfaces make repeated contact
- Drawer fronts that are grabbed and pulled multiple times a day
- Cabinet faces near the stove where heat and grease accumulate
Catching deterioration early in those areas makes touch-ups simpler and less costly.
Touch-ups are straightforward when the original product records are on hand. A professional retains documentation of the paint formula and finish used so the homeowner has a reference point if repairs are needed down the line. That kind of continuity is one of the practical advantages of working with a professional from the start.
Even a professionally executed finish has a realistic lifespan. Understanding that going in allows homeowners to plan for eventual maintenance rather than being caught off guard when it is needed.
Ready to Refresh Your Kitchen? Here Is Where to Start
Painting kitchen cabinets is one of the higher-impact upgrades a homeowner can make. The results, when done right, are dramatic. But the outcome of any cabinet painting project is determined long before the first coat goes on.
Cabinet candidacy, prep quality, product selection, finish choice, product quality, and ongoing maintenance all build on each other. A strong result requires each one to be handled correctly. A shortcut at any stage works its way into the final product and shortens the life of the finish.
Understanding what goes into the process is the first step. The next one is having a professional assess your cabinets and give you a clear picture of what the project involves.
At Martzall’s Custom Surfaces, we work with homeowners to evaluate their cabinets, recommend the right approach, and deliver a finish built to last. If you are ready to move forward, we would love to take a look. Contact us today to schedule your estimate.
